
In the realm of desserts, few can rival the indulgent pleasure of a Chocolate Silk Pie. It’s a dessert that combines the elegance of a silky smooth filling with the rustic charm of a homemade pie crust, creating a culinary masterpiece that’s as pleasing to the eye as it is to the palate. This post is dedicated to unraveling the secrets behind crafting the perfect Chocolate Silk Pie, a dessert that promises to be the centerpiece of any dining table.
The journey of making a Chocolate Silk Pie is a delightful venture into the world of chocolate, exploring its depths and nuances. The pie’s filling, rich with high-quality chocolate and butter, melts in your mouth, leaving behind a whisper of sweetness and a robust chocolate flavor.
We delve into the history of this beloved dessert, tracing its roots back to the American culinary tradition, where it has evolved from a simple chocolate dessert to an emblem of dessert perfection. The Chocolate Silk Pie stands as a testament to the timeless appeal of chocolate, adored by generations for its comforting and luxurious qualities.

Crafting this pie involves a delicate balance of ingredients and techniques to achieve that perfect texture and flavor. From selecting the right type of chocolate to mastering the silky smooth filling that defines this dessert, every step is crucial to its success.
We’ll guide you through each phase, from preparing the buttery crust that serves as the base of our pie to the velvety filling that is the heart of the dessert. Along the way, we’ll share tips and tricks to ensure your Chocolate Silk Pie is flawless, with a filling that’s both light and indulgent.
This post is for anyone who loves chocolate, from the avid baker looking to refine their skills to the novice eager to impress at their next dinner party. Join us as we celebrate the art of baking with this decadent, chocolate-laden delight.

✅ Quick Tips: Read the recipe in its entirety before you start cooking. This will help you understand the ingredients, steps, and timing involved, and allow you to prepare any necessary equipment or ingredients beforehand.
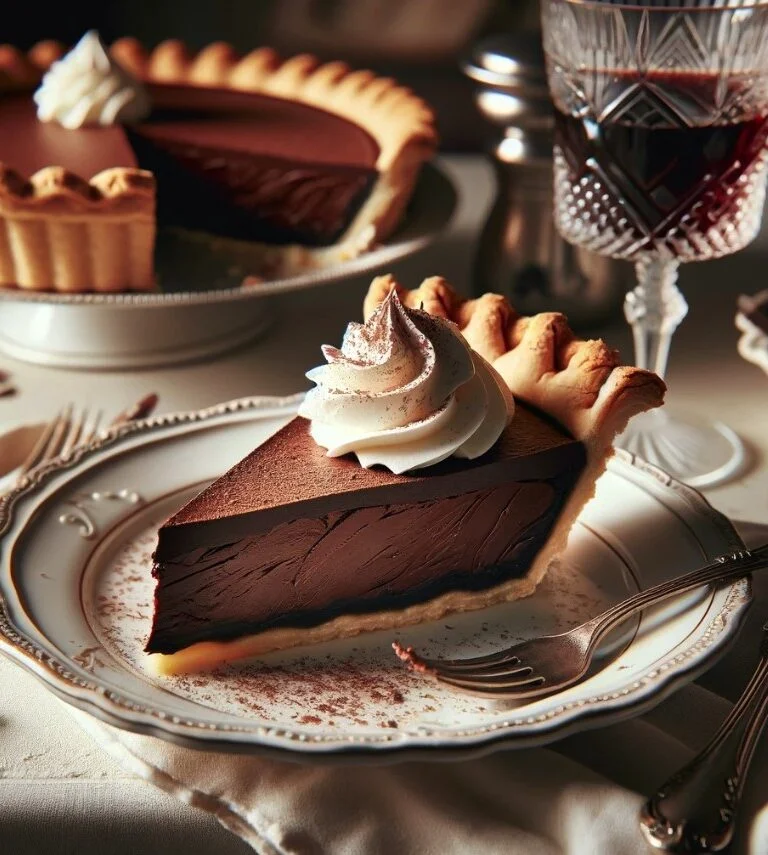
Decadent Chocolate Silk Pie
Description
Ingredients
For the Crust
For the Chocolate Silk Filling
For the Finishing
Instructions
For the Crust
-
Mix Dry Ingredients
In a large mixing bowl, whisk together 1 ¼ cups of all-purpose flour and ½ teaspoon of salt.
-
Incorporate Butter
Add 8 tablespoons of cold, cubed unsalted butter to the flour mixture. Use a pastry cutter or two forks to cut the butter into the flour until the mixture resembles coarse crumbs.
-
Add Ice Water
Slowly add 4-6 tablespoons of ice water, one tablespoon at a time, mixing until the dough just begins to come together.
-
Form and Chill Dough
Gently knead the dough into a ball, then flatten it into a disk. Wrap in plastic wrap and refrigerate for at least 1 hour to allow the dough to rest.
-
Roll and Bake the Crust
On a lightly floured surface, roll out the dough into a 12-inch circle. Transfer to a 9-inch pie plate. Trim any excess dough and crimp the edges. Prick the bottom with a fork, then bake at 375°F (190°C) for 25 minutes, or until golden. Let cool completely.
For the Chocolate Silk Filling
-
Melt Chocolate
Place 1 cup of chopped high-quality semi-sweet chocolate in a heatproof bowl set over a pot of simmering water. Stir until melted and smooth, then remove from heat and let cool to room temperature.
-
Whip Heavy Cream
In a large bowl, whip 1 ½ cups of heavy cream to stiff peaks using an electric mixer. Set aside in the fridge.
-
Cream Butter and Sugar
In another large bowl, use an electric mixer to beat ¾ cup of softened unsalted butter with 1 cup of powdered sugar until light and fluffy.
-
Combine Chocolate and Butter Mixture
Add the cooled melted chocolate and 2 teaspoons of vanilla extract to the butter and sugar mixture. Beat until well combined.
-
Fold in Whipped Cream
Gently fold the whipped cream into the chocolate mixture until no streaks remain.
-
Fill Pie Crust
Pour the filling into the cooled pie crust and smooth the top with a spatula.
For the Topping and Finishing
-
Whip Cream for Topping
Whip 1 cup of heavy cream with 2 tablespoons of powdered sugar to stiff peaks. Spread or pipe onto the chilled pie.
-
Garnish
Sprinkle with chocolate shavings for decoration.
-
Chill
Refrigerate the pie for at least 4 hours, or overnight, to allow the filling to set.
-
Serve
Serve chilled, cut into slices.


Serving Size 1
Servings 8
- Amount Per Serving
- Calories 480kcal
- % Daily Value *
- Total Fat 30g47%
- Saturated Fat 18g90%
- Cholesterol 85mg29%
- Sodium 200mg9%
- Total Carbohydrate 52g18%
- Dietary Fiber 3g12%
- Sugars 40g
- Protein 6g12%
- Calcium 50 mg
- Iron 3 mg
- Unsaturated Fat 12g
* Percent Daily Values are based on a 2,000 calorie diet. Your daily value may be higher or lower depending on your calorie needs.
Note
Chocolate Selection: Use the best quality chocolate you can find for the filling—it makes all the difference.
Chilling Time: For best results, allow the pie to chill overnight. This sets the filling perfectly.
Serving Suggestion: Serve chilled for a refreshing contrast to the rich chocolate.