
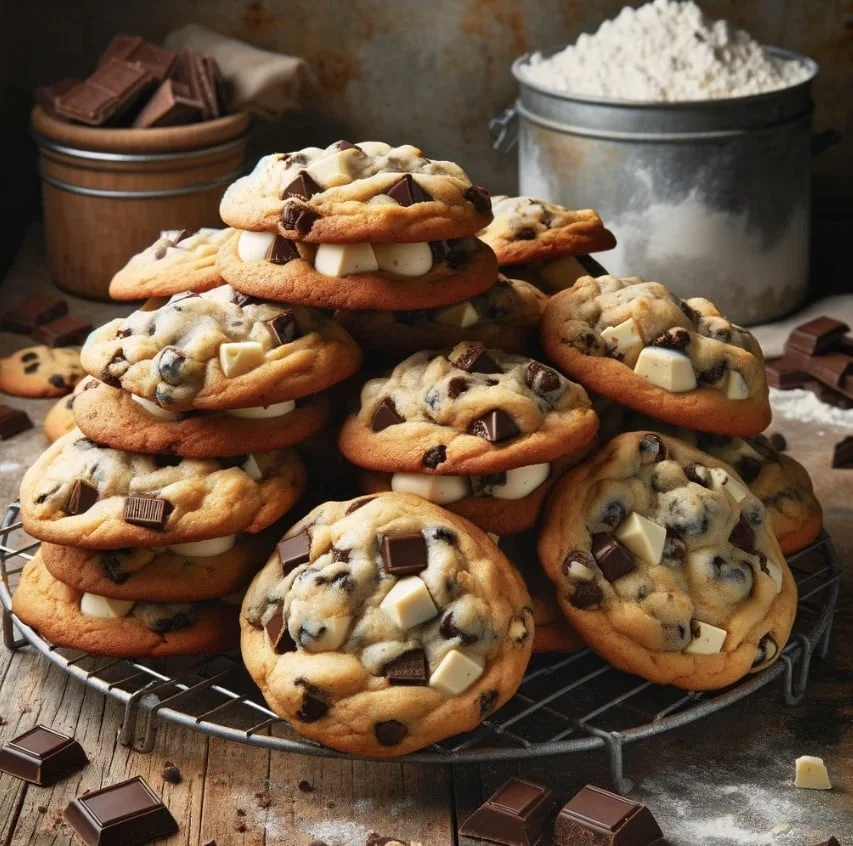
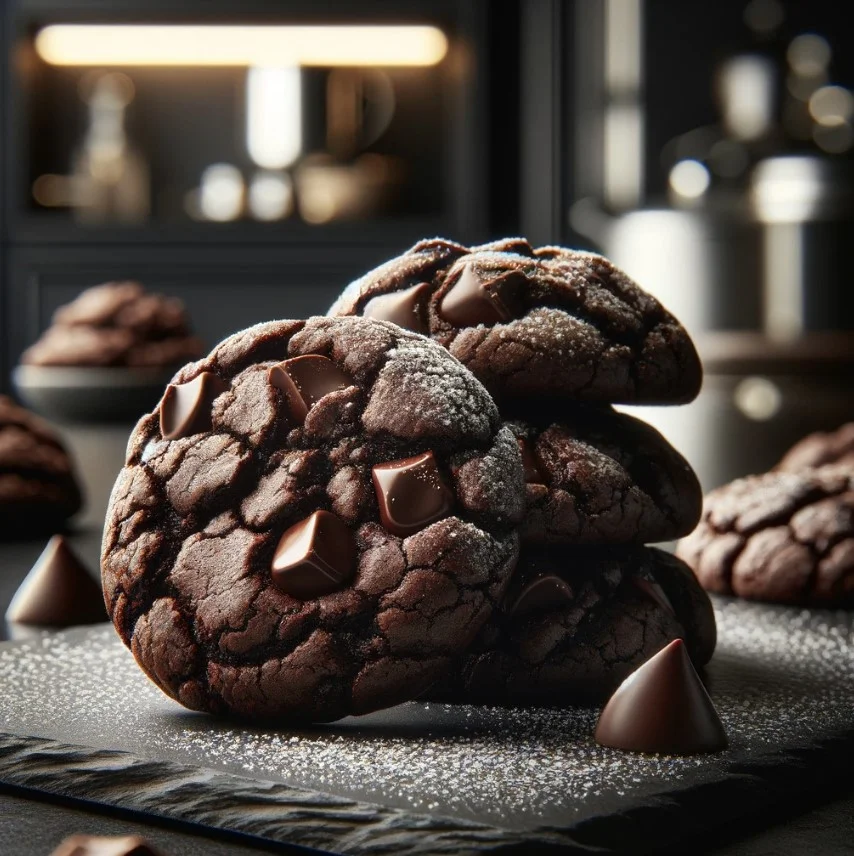
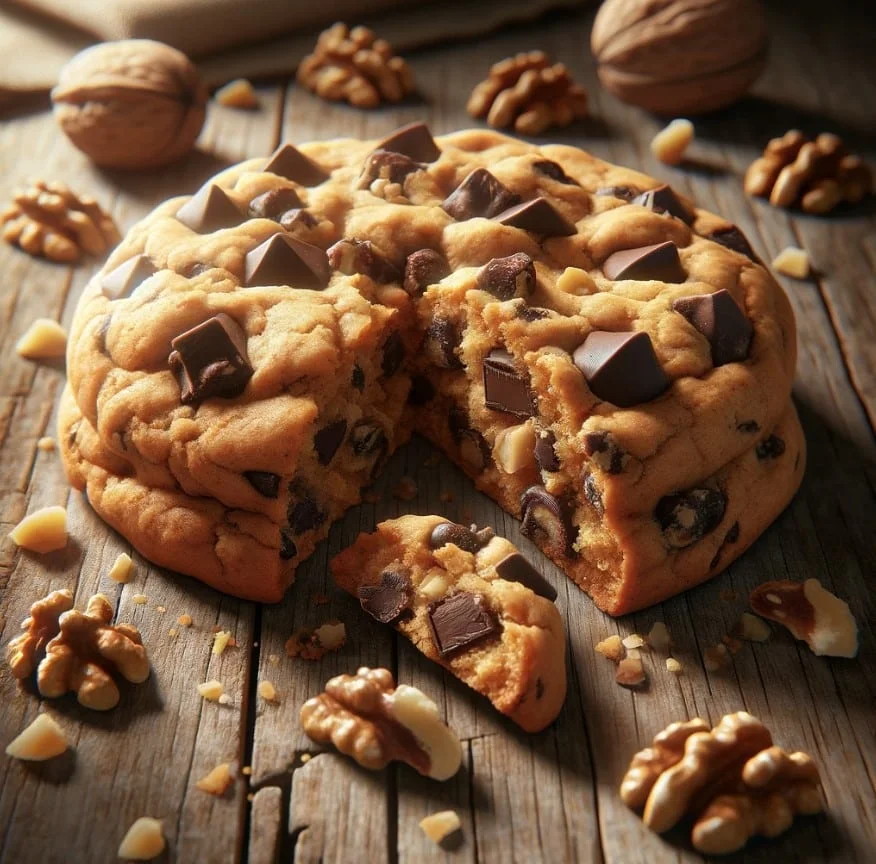
Baking perfect cookies is an art – a mix of precision and soul that transforms simple ingredients into something amazing. Today, let’s chat about a recipe that does just that: Chocolate Chip Walnut Cookies. These cookies are more than a sweet treat; they’re an invite to pure joy.
Picture the oven’s warmth blending with the toasty scent of walnuts. Our journey starts here, with walnuts toasted to perfection, adding a rich flavor to every cookie. It’s a simple step, but it makes a big difference.
Moving to the dry ingredients, we stick to the basics – flour, baking powder, baking soda, and a pinch of salt. This solid foundation ensures cookies that are both tender and firm.

The key to the cookies’ texture is cold, cubed butter – a trick borrowed from making scones. This chilled butter creates flaky pockets in the cookies, making them just as delightful as pastries. As we mix, the butter blends with sugars to form a creamy base.
Sugars are added for structure and sweetness. Creamed with butter, they create a light, airy mixture for a tender crumb.
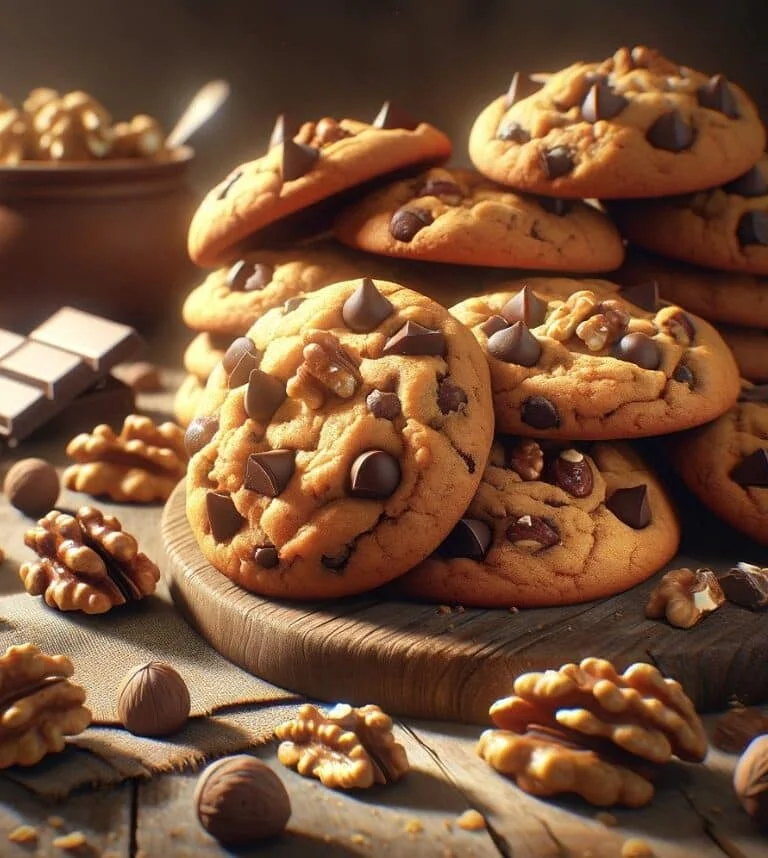
Chocolate chips are the stars here. Whether dark or semisweet, mini or chunky, they promise bursts of chocolate in every bite. Stirred generously into the dough, they add indulgence.
The walnuts should be squeezed, not finely chopped. These big pieces offer a nutty crunch and bold flavor in the cookies.
When dry ingredients meet the mixture, the dough may seem crumbly. Press it together; it should be cohesive yet distinct in its components.
Lightly beaten eggs bind everything together. Added slowly, they ensure the dough stays tender.
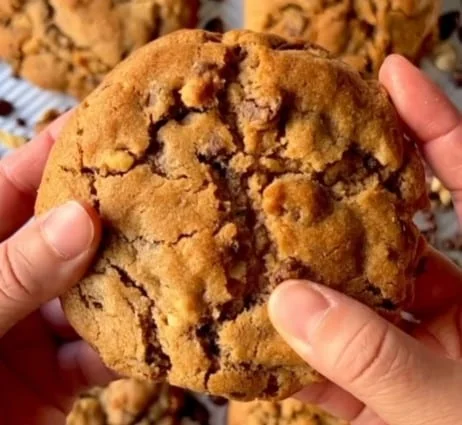
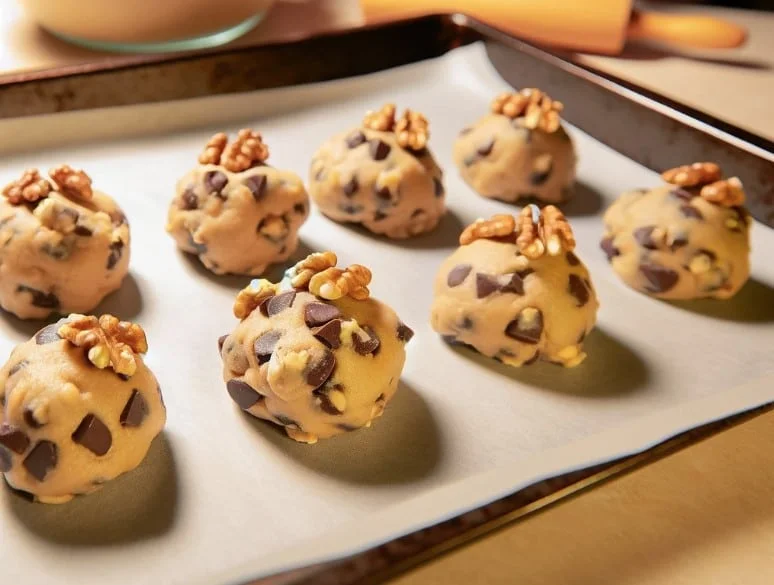
Shaped into six-ounce portions, these cookies are rustic, not perfectly round. They chill, flavors melding, textures setting up for baking.
Double-pan baking is the trick here. Placing a second sheet beneath the first ensures even baking.
As they bake, the kitchen fills with the scents of chocolate, walnut, and caramelized sugar. Once done, the cookies emerge golden, fragrant, and inviting.
And there you have it – Chocolate Chip Walnut Cookies ready to be enjoyed. They can turn any day into a celebration, any coffee break into a feast. Enjoy!
✅ Quick Tips: Read the recipe in its entirety before you start cooking. This will help you understand the ingredients, steps, and timing involved, and allow you to prepare any necessary equipment or ingredients beforehand.
Inspired By: @happytummy_702 on Instagram ❤️
Video Below
Chocolate Chip Walnut Cookies!😍🤤#recipevideo
Comment “cookie” and I will personally DM you the FULL recipe!❤️
These Chocolate Chip Walnut Cookies will melt in your mouth!😋 #walnutcookies #chocolatechipcookie
Follow @Bakeries - we post baking recipes daily.😋
Credit: @happytummy_702
#walnuts #ChocolateLovers #chocolatecookies #minicookies #DeliciousBites #BakingMagic #cookiestagram #DessertTime #SweetTreat


Chocolate Chip Walnut Cookies
Description
Ingredients
Instructions
-
Prep & Toast Walnuts
Begin by toasting your walnuts for about 5 minutes in the oven. This enhances their flavor and adds a delightful crunch. Allow them to cool before use.
-
Prepare Your Baking Sheets
Line two large baking sheets with parchment paper. This will help prevent the cookies from sticking and ensure easy cleanup.
-
Mix Dry Ingredients
In a medium bowl, whisk together the all-purpose flour, cake flour, baking powder, baking soda, and salt. Set this mixture aside for later use.
-
Cream the Butter and Sugars
In a large mixing bowl or the bowl of a stand mixer, beat the cold, cubed butter on low speed until it begins to lose its shape, roughly 30-45 seconds. Add the granulated sugar and brown sugar, continuing to cream together for another 45 seconds until the mixture is combined and slightly fluffy.
-
Incorporate Chocolate and Walnuts
Add your choice of chocolate chips into the butter and sugar mixture. For an extra chocolatey experience, consider using mini chocolate chips. Then, take your toasted walnuts and give them a gentle squeeze to break them into large pieces—no need to chop them finely. Mix these in until evenly distributed.
-
Combine Wet and Dry Ingredients
Gradually add your dry ingredients to the wet mixture in three batches, mixing on low speed or pulsing to prevent the flour from making a mess. Use a rubber spatula to scrape the sides of the bowl, ensuring all ingredients are well incorporated and that there are no large butter lumps remaining.
-
Add Eggs
Lightly beat the two eggs in a separate bowl. With the mixer on low, slowly pour the eggs into the dough, mixing just until combined. It’s crucial not to overmix at this stage to avoid developing too much gluten, which can make the cookies tough.
-
Shape the Dough
Using your hands or a large scoop, form the dough into 8 large balls. Keep the shape rustic and somewhat uneven for that perfect bakery-style look. Arrange all the dough balls on a tray and chill in the refrigerator for at least 2-3 hours, or overnight, to set. For a quicker option, freeze for 90 minutes.

-
Prepare for Baking
When ready to bake, preheat your oven to 375°F (190°C). To prevent the bottoms from burning and to achieve a soft, slightly doughy center with crisp edges, place the baking sheet with the dough balls on top of a second upside-down baking sheet.
-
Bake the Cookies
Bake the cookies in batches of four, allowing space for them to spread out. They should take about 23-26 minutes to reach golden perfection around the edges and tops. Keep an eye on your oven as temperatures may vary.
-
Cool and Enjoy
Allow the cookies to cool on the baking sheet for a few minutes before transferring them to a wire rack to cool completely. This slight cooling period helps set the cookies’ structure while maintaining their gooey, delicious centers.


Serving Size 1
Servings 8
- Amount Per Serving
- Calories 500kcal
- % Daily Value *
- Total Fat 30g47%
- Saturated Fat 16g80%
- Cholesterol 80mg27%
- Sodium 125mg6%
- Total Carbohydrate 70g24%
- Dietary Fiber 3g12%
- Sugars 40g
- Protein 7g15%
- Unsaturated Fat 13g
* Percent Daily Values are based on a 2,000 calorie diet. Your daily value may be higher or lower depending on your calorie needs.
Note
Swap in different nuts or chocolate types to tailor these cookies to your taste.
To keep cookies from spreading too much, ensure the dough is thoroughly chilled.
For an extra glossy finish, brush the tops with a bit of egg wash before baking.